How to Build a Realistic Backyard Putting Green
Why Consider a Home Putting Green
For anyone who enjoys golf, having a place to practice close to home is a clear advantage. A backyard putting green can save time spent traveling to a course or driving range, and it offers the convenience of practicing whenever you want. Beyond the practical side, it also becomes a feature of the yard that friends and family can enjoy. The idea is to create a surface that rolls true and mimics the feel of a real green, without the constant watering, mowing, and fertilizing that natural grass requires.
Modern artificial turf has come a long way from the stiff, plastic-looking surfaces of the past. With the right materials and installation, a home putting green can look and play surprisingly well. The key is understanding what goes into a good setup and making informed choices along the way.
What Makes a Good Synthetic Putting Green
Not all artificial grass is suitable for putting. The surface needs to be firm enough to hold a true roll, yet soft enough to accept a pitch shot. The fibers should be short and dense, typically made from polyethylene because it feels more natural and stands up to foot traffic. Pile height for a putting green usually falls in a specific range - too tall and the ball bounces erratically, too short and the surface feels like a carpet. A common choice is around half an inch to three-quarters of an inch, but the exact height depends on how you want the green to play.
Infill also plays a major role. Silica sand is the standard material used to weigh down the turf and support the fibers. The amount and type of infill affect both the speed of the green and how much the ball breaks. Some installers use a layer of rubber crumb beneath the sand to add cushioning, though this can change the feel. Getting the infill level right takes experience, and it is one of the details that separates a decent green from a great one.
Drainage and Base Preparation
Water management is often overlooked until after a heavy rain. A synthetic putting green needs a properly graded base that allows water to run off and drain away. Without good drainage, standing water can make the surface unusable for hours after a storm. The base is typically made of crushed rock or decomposed granite, compacted to create a stable foundation. A layer of weed barrier fabric underneath helps keep growth from pushing up through the turf. The entire base should slope slightly away from the house or toward a drainage point, depending on the layout of the yard.
For areas with heavy clay soil or poor natural drainage, a more elaborate system may be needed. Some installations include perforated pipes or a French drain to carry water away. It is worth checking local building codes before starting, as some areas have requirements for drainage and runoff.
Choosing the Right Turf
Turf for a putting green is different from the grass used for lawns or pet areas. The fibers are typically shaped like a "V" or "W" in cross-section, which helps them stand upright and resist matting. The color should be a mix of green shades to look natural, and some products include brown thatch fibers to mimic the look of real grass. The backing should be strong enough to hold its shape without stretching, especially around the edges and where the turf meets the golf cup.
A sample swatch is helpful but not enough to judge how the turf will play. If possible, visit a showroom or ask for a larger sample to test with a putter. Roll a few balls across it to see how the surface behaves. Pay attention to how the ball tracks - does it wobble or stay true? Does the turf feel too slick or too grabby? These are the details that matter when you are trying to sink a putt.
Installation Steps and Considerations
Building a synthetic putting green is a project that can be done by a skilled homeowner, but it requires careful planning and physical work. The basic steps are straightforward: mark the shape, excavate the area, compact the base, lay the turf, secure the edges, and add infill. Each step has its own set of challenges.
- Excavation: Remove the existing grass and soil to a depth of about four to six inches, depending on the base material and the turf thickness. This is heavy labor, and the soil has to go somewhere.
- Base layer: Spread and compact crushed rock or decomposed granite in two or three lifts, checking the slope as you go. A plate compactor is necessary to get a firm, even surface.
- Turf placement: Roll out the turf and let it relax for a few hours before cutting. Seams should be taped and glued carefully to avoid visible lines.
- Securing: The edges are usually nailed down with landscape spikes or pins, spaced about six inches apart. The perimeter should be buried or covered with a border material to hide the edge.
- Infill and brushing: Spread sand evenly across the surface and brush it into the fibers using a stiff broom or a power brush. This step may need to be repeated a few times to get the right feel.
One of the trickiest parts is cutting the hole for the golf cup. The cup needs to be set into a rigid sleeve so the turf does not collapse around the edge. A simple plastic cup can work, but a metal or heavy-duty plastic sleeve lasts longer and holds its shape. The flagstick should fit snugly without being tight, and the cup should sit flush with the surface so the ball drops cleanly.
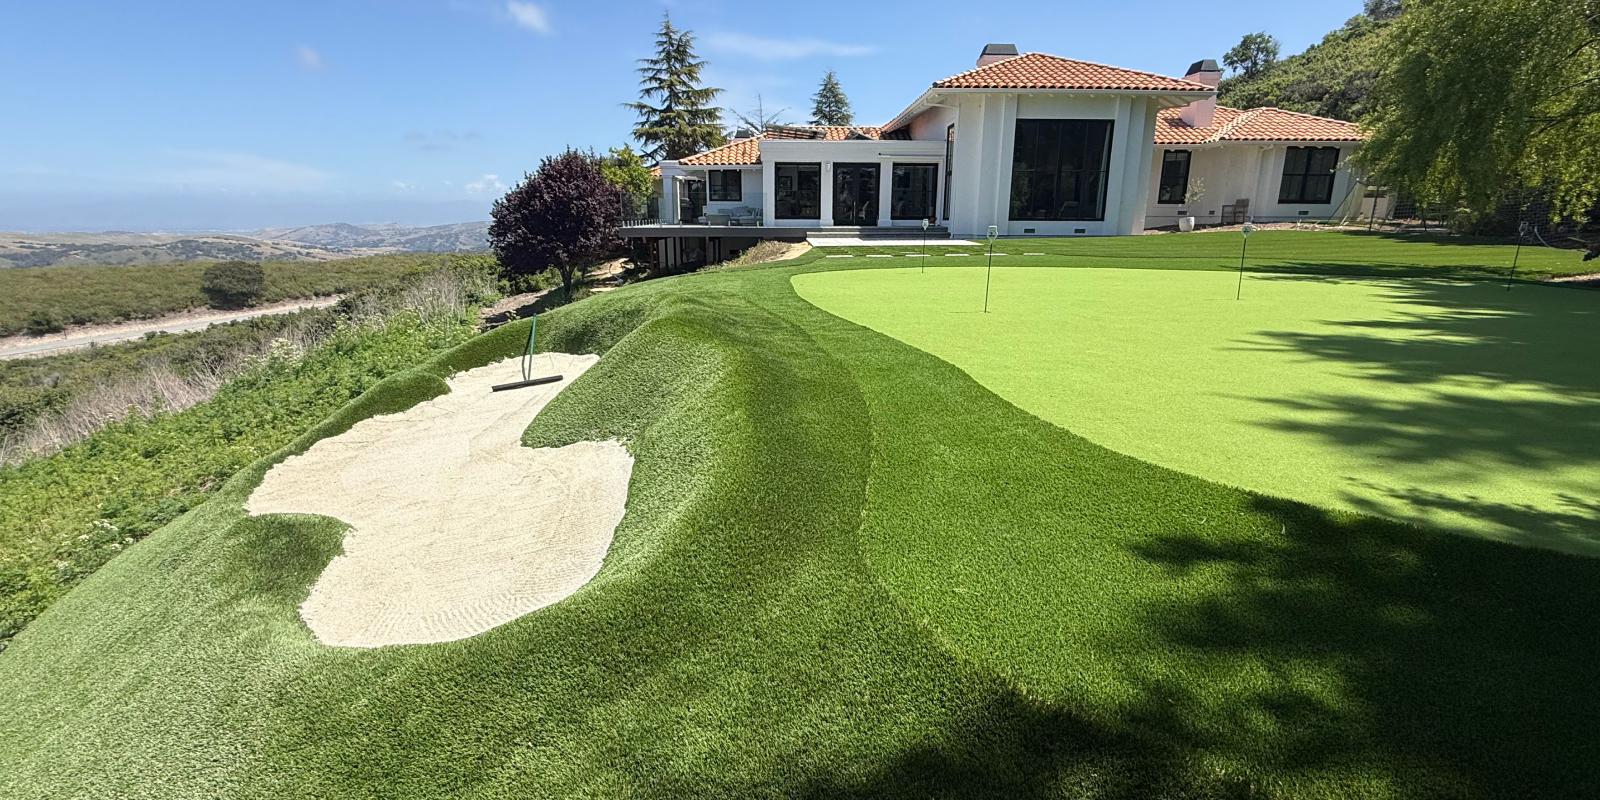
For anyone who wants to add shaping, such as small mounds or a slight crown, the base can be sculpted before the turf goes down. This adds realism but also complexity, because the turf must be cut and seamed to fit the contours. A flat green is easier to install and still provides a good practice surface.
Maintenance and Longevity
Once installed, a synthetic putting green requires far less upkeep than real grass, but it is not zero maintenance. Leaves, twigs, and debris should be removed regularly, especially in the fall, because organic matter can break down and create a thin layer of soil that encourages weed growth. A leaf blower or a stiff broom works well for this. The surface may need to be brushed occasionally to keep the fibers standing upright and to redistribute the infill. Over time, foot traffic can push the sand to the sides, so it is a good idea to check the infill level every year and add a little if needed.
Weeds can still sprout around the edges or through the turf if the base layer was not properly installed. A spray of vinegar-based herbicide or a spot treatment with a non-selective weed killer can take care of them. Avoid using anything that could damage the turf fibers, and always test a small area first.
In hotter climates, the surface can get warm, but it usually does not become too hot to walk on barefoot unless the sun is directly overhead for hours. Some turf products include a cooling infill or reflective coating, but these add cost and are not necessary for most homeowners. Shade from trees or a nearby structure can help keep the green comfortable during the hottest part of the day.
What to Watch Out For
A common mistake is skimping on the base preparation. A putting green is only as good as the foundation beneath it. If the base settles unevenly, the surface will develop bumps and dips that make putting frustrating. Another issue is using turf that is too soft or too long, which can cause the ball to sit down and roll slowly. The right turf for a putting green is a specialized product, and it is worth paying for quality.
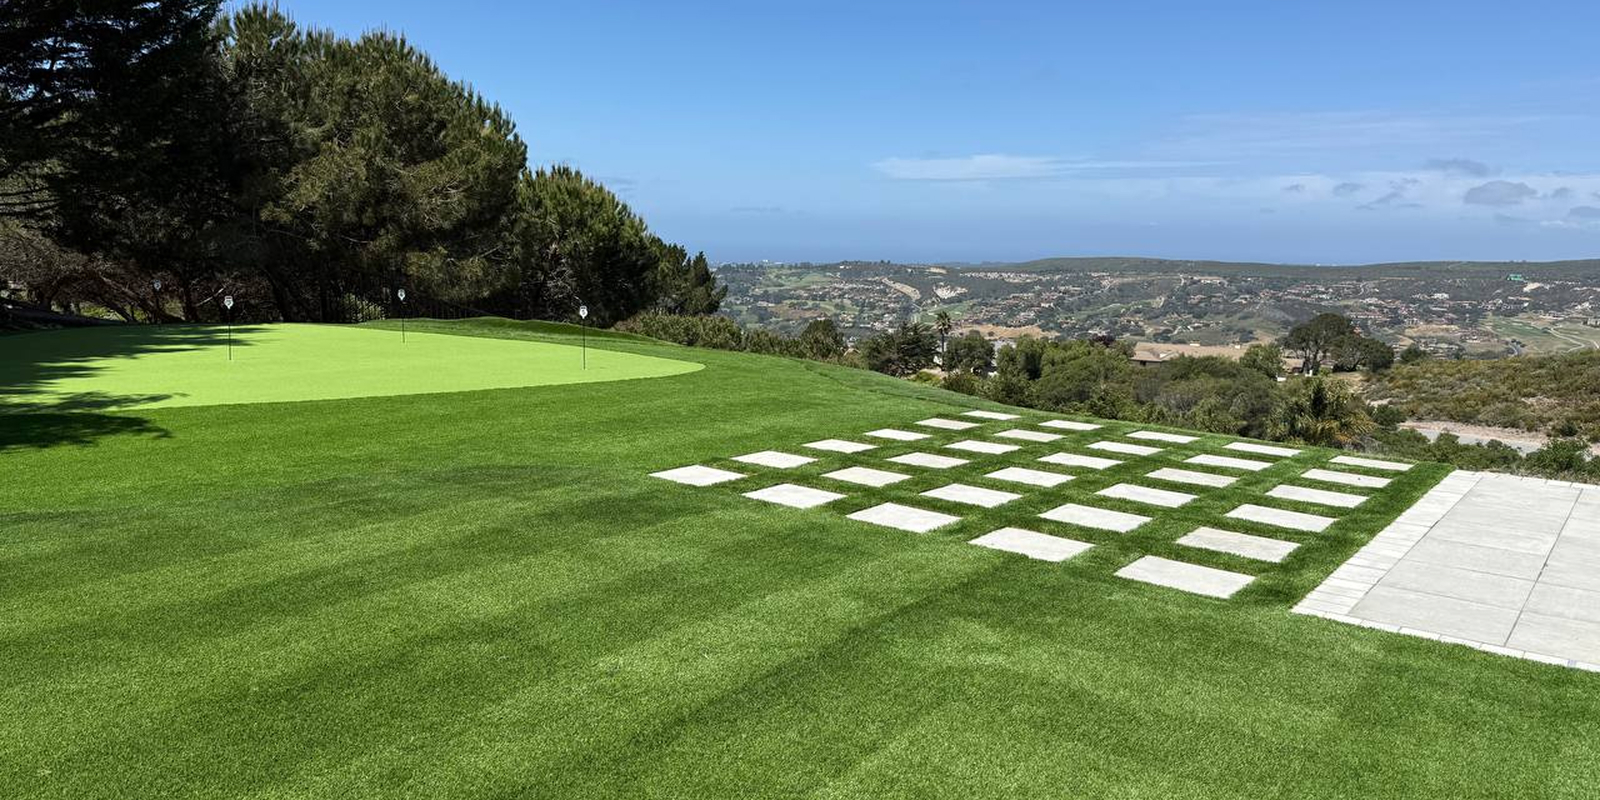
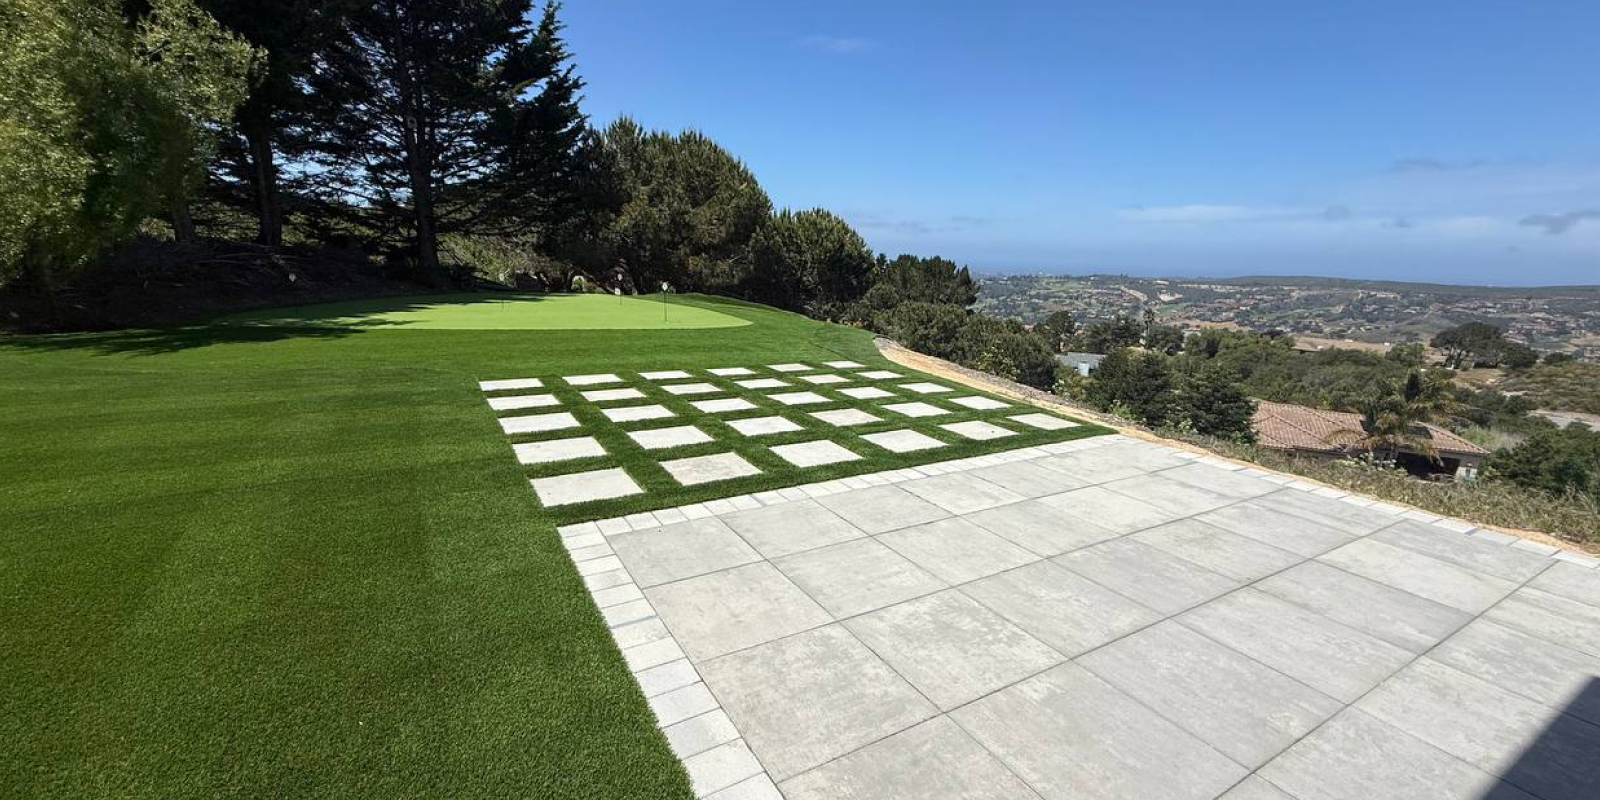
Another pitfall is not planning for the surrounding landscape. The green should blend into the yard, not look like a carpet dropped on the grass. Edging materials such as stone, brick, or timber can create a clean transition. Some homeowners also add a border of low plants or ground cover to soften the look. Think about how the green will fit with the rest of the yard and how you will move around it with a putter and a few balls.
For those who want a more complete practice area, adding a chipping mat or a small bunker nearby can make the space more useful. But each addition increases the complexity and cost, so it helps to start with a simple green and expand later if needed.
Putting It All Together
Building a backyard putting green is a project that rewards careful planning and attention to detail. The materials, base, and installation all work together to create a surface that feels good and plays consistently. A well-built synthetic putting green can provide years of enjoyment and practice, without the constant upkeep of natural grass. Whether you are a serious golfer looking to shave strokes off your game or someone who just enjoys a friendly round with friends, a home green is a practical and satisfying addition to any yard.